Photo Storage and Video Editing
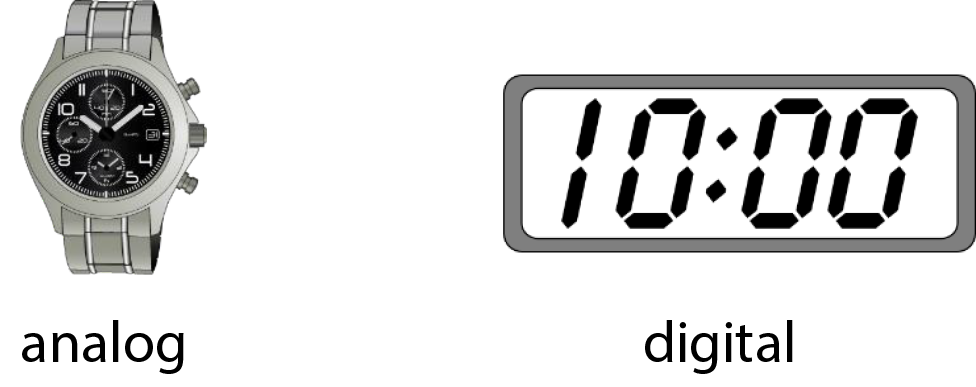
Analog vs Digital
-
Clocks are a good way to understand the differences between analog and digital information.

-
Data in modern devices is stored in digital form, as a collection of 1’s & 0’s.
-
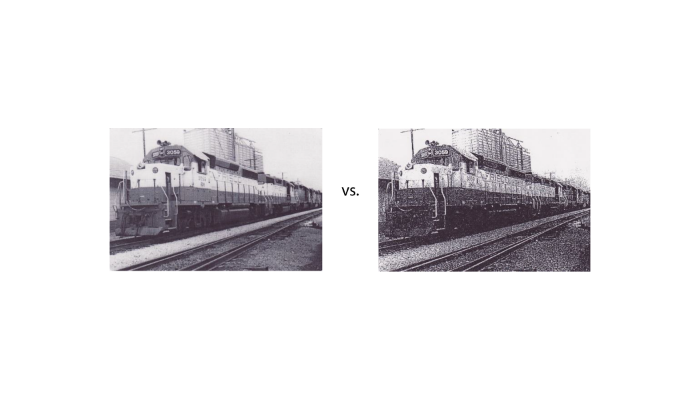
Analog data degrades over “generations” of copies.
-
Digital data is less susceptible to degradation due to copies.
-
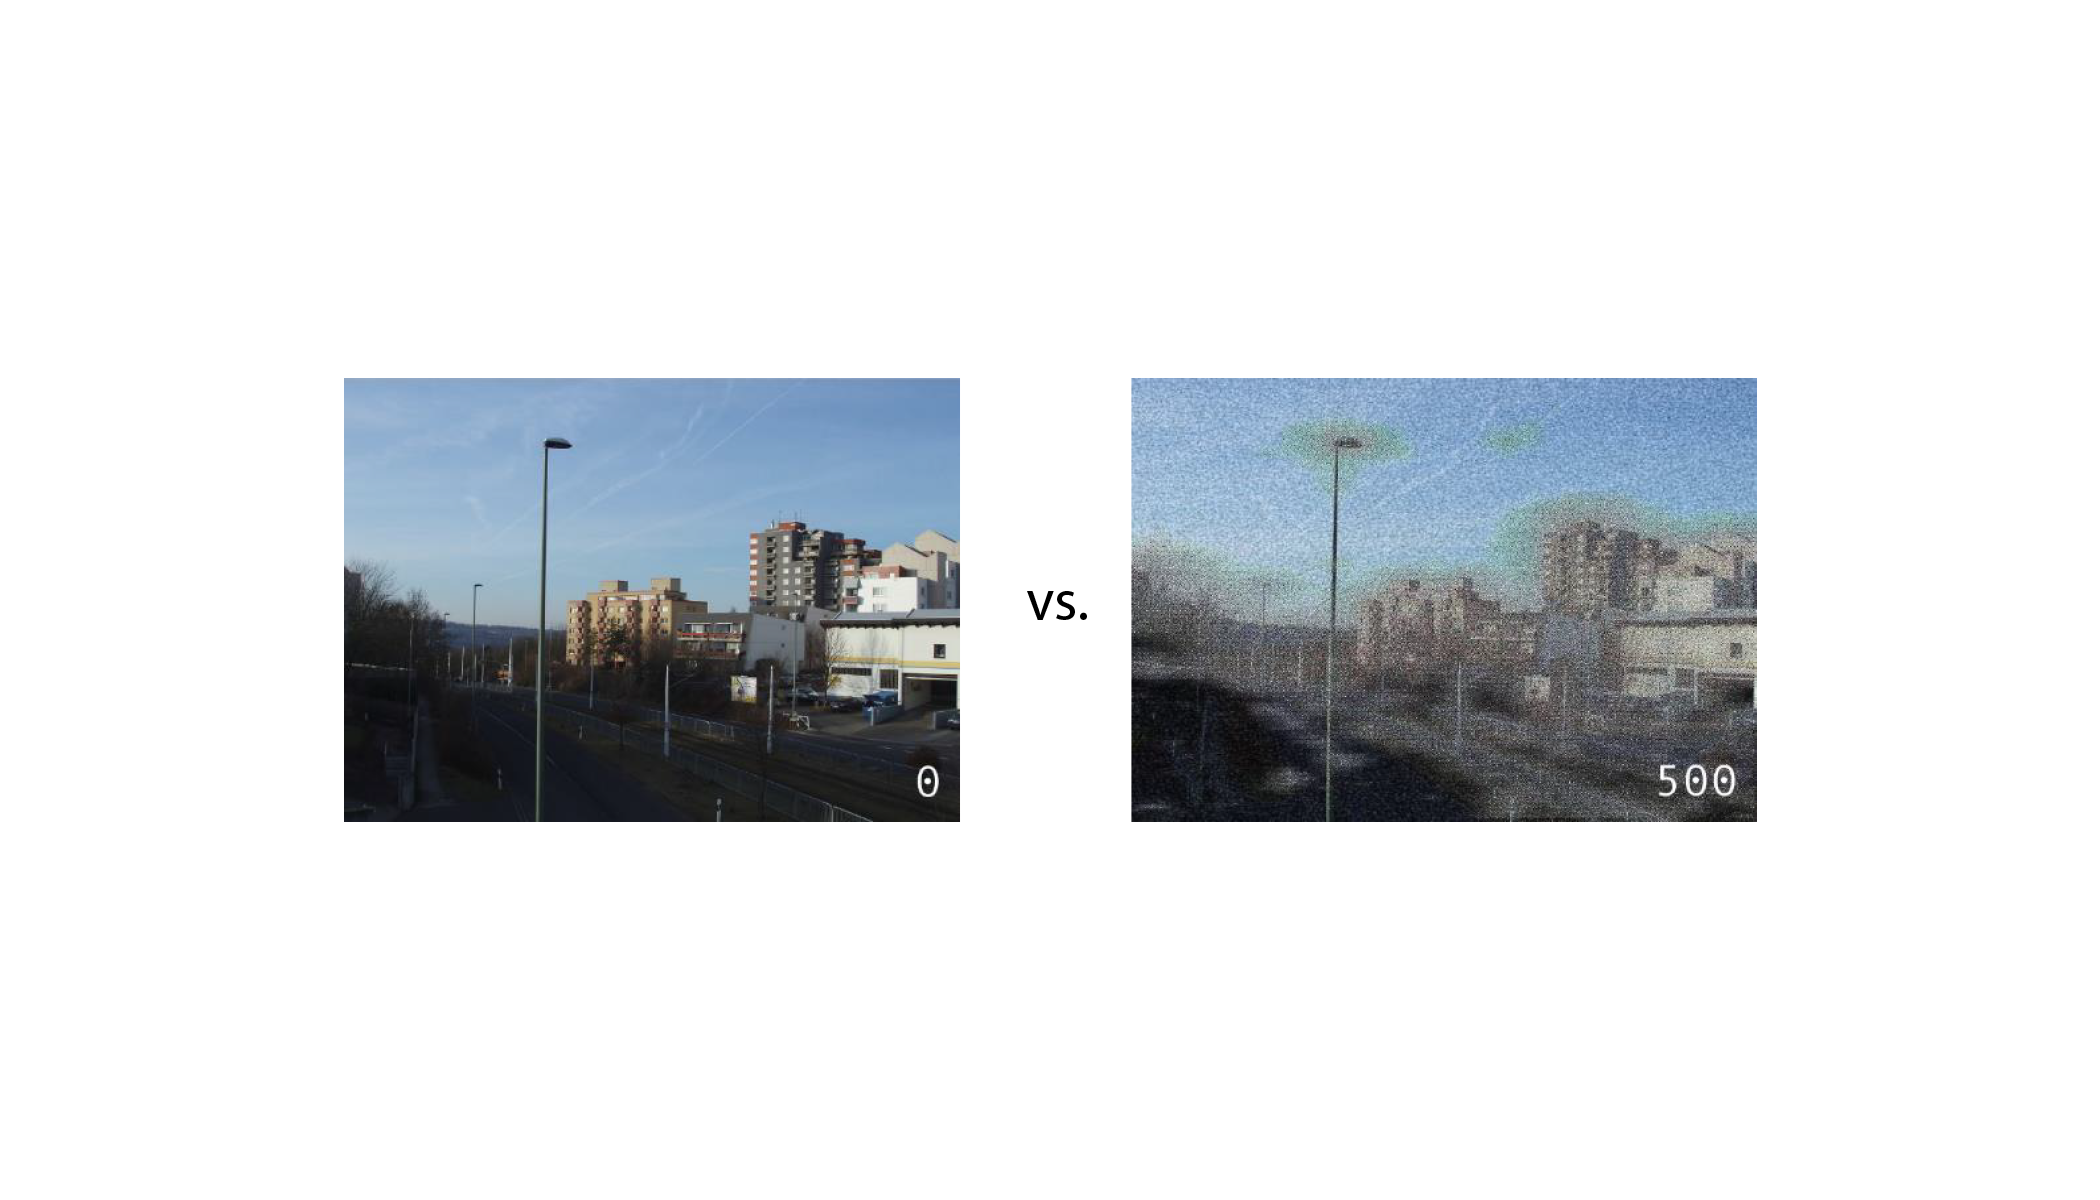
An exception to this is when the data is stored in a “lossy” compressed format.
Lossy compression
-
Some common, lossy compression formats:
-
mpeg, mpeg2, mp3, mp4 – Audio and video
-
jpg and gif – Images
-
-
Most modern, digital cameras use jpg by default.
-
Rule of thumb: When editing jpeg photos, avoid multiple editing sessions on the same photo file.
-
Instead, go back to the original photo, if you can.\
-
Taking digital photos
-
This is not the topic of today’s session.
-
I suggest you visit the website Glade Presnal shared with us (http://www.jasonrichclasses.com) and view these two presentations:
-
“Take & Share Awesome Photos Using Your iPhone or iPad”
-
“Showcase and Share Your Vacation Photos”
-
Converting analog photos to digital
-
A flatbed scanner is the best way to digitize your photos.
-
Many “consumer-grade” scanners available today will be good enough for most needs. Most of these will scan at pixel densities of 300 – 2400 dpi (dots-per-inch)
-
For higher-resolution needs there also are photo scanners, which have a much higher dpi capability. For example, the Epson Perfection V550 Photo Scanner ($170 on Amazon.com) is a highly-rated product that can scan at 6400 dpi
-
-
Rules of thumb for scanning:
-
The higher the dpi, the more space the storage the photo will take. (But storage is cheap and getting cheaper by the day.)
-
It is better to scan at a higher dpi and then scale the photo down to a smaller size for printing than to scan at a lower dpi and then scale the photo up.
-
When uploading photos for printing, your printing company may have suggestions on resolutions for particular print sizes.
-
Printing your photos
-
Rule of thumb: Upload your photos and have them printed on photo paper (for example, with Wal-Mart) rather than printing them on your home printer.
-
If you use plain paper on your home printer, the quality of the paper and image will be lower than a commercial print.
-
Whether you use plain paper or photo paper at home, the cost of paper + ink will be (significantly) higher than for a commercial print.
-
-
Check with your photo printing company to learn the suggested resolutions for particular sizes of prints.
-
For example, Wal-Mart suggests these minimum image resolutions:
-
4 x 6: 540 x 360 pixels
-
5 x 7: 546 x 390 pixels
-
8 x 10: 960 x 780 pixels
-
Multi-Scan
-
Multi-scan is the term used to describe scanning multiple photos at one time.
-
Many of today’s scanners come with this capability built into the included software.
-
Multiple photos (perhaps of differing sizes) can be scanned in one take.
-
One photo file will be created for each photo, cropped to its edges.
-
There are a number of commercial products can split photos out of a scanned image, if your scanner software cannot do so.
-
Gimp (free) also has a plug-in available for splitting photos from a scan.
-
Digitizing slides
-
Most photo scanners digitize not just photos, but also negatives and slides.
-
Digital photos can be created from negatives.
-
There are trays included with or available for photo scanners that align slides and allow you to scan several at a time.
-
-
For folks with hundreds or thousands of slides, there are scanners with manual or automatic slide feeders built in.
-
Many of these are dedicated devices, only usable for slides.
-
Google “35mm slide scanner”.
-
-
Rule of thumb: After scanning the slides, examine them to see if you need to rescan after cleaning the slide.
Storage needs for digital photos
-
Most cameras today store there images on removable, SD or micro-SD memory cards.
-
Older devices or some smartphones may not have removable memory.
-
Whether the device has removable memory or not, you almost certainly can connect the camera to your computer via USB or wireless.
-
-
Most cameras today store there images on removable, SD or micro-SD memory cards.
-
Older devices or some smartphones may not have removable memory.
-
Whether the device has removable memory or not, you almost certainly can connect the camera to your computer via USB or wireless.
-
Current capacities for Micro-SD card include:
-
8GB (about $6),
-
16GB (about $8)
-
32 GB (about $15)
-
64 GB (about $25)
-
28GB (about $50)
-
256GB (about $100)
-
-
Your camera may not work with the larger sizes; check your user’s manual for limitations.
-
A typical 10-megapixel (about 10,000,000 dots) photo stored in jpg format ranges from 10MB to 18MB in size.
-
So, about how many 10-megapixel photos will fit on a micro-SD card (worst case)?
-
8GB – 455
-
16GB – 910
-
32 GB – 1,820
-
64 GB – 3,640
-
128GB – 7,280
-
256GB – 14,560
-
Safely storing your photos
-
If you DropBox, you can install its app on your Apple, Android, or Windows phone or tablet, and then enable the Camera Upload feature.
-
This feature automatically uploads photos from your device to your DropBox account immediately after the photos are taken.
-
The photos are stored (by default) in a DropBox folder named Camera Uploads.
-
-
Use caution with the Camera Uploads feature!
-
If your device is connected to DropBox via your carrier’s cellular network, you may exceed your monthly data plan.
-
Thus, you may want to synch your photos manually, once you have access to a wireless network.
-
-
If you upload your photos to your computer, there are many options for safely storing them.
-
Keep them on your hard drive or SSD. (Not safe!)
-
Burn to CDR/DVDR/BDR.
-
Store on a flash (thumb) drive – 64GB for about $30.
-
Store on an external drive – 2TB Western Digital drive for about $90 – about 116,500 10-megapixel images.
-
Store them in the Cloud.
-
-
Whichever you choose, you should keep an “off-premises” copy.
-
Arguably, the safest storage solution for your digital photos is “the Cloud”.
-
A backup service, such as Carbonite or Mozy – monthly fees.
-
Free backup services, such as iCloud, Google Drive, Microsoft OneDrive, Flickr, Picasa, etc. – data mining may occur, plus they may share your information with 3rd party advertisers. Read the fine print if concerned.
-
Video editing – Why?
-
Perhaps you have a video camera or a smartphone capable of capturing video.
-
Today’s smartphones can take very good video.
-
Most are capable of capturing at 720p or 1080p.
-
More and more are capable of capturing 4K video (4 times the resolution of 1080p HD video).
-
-
Even if you are an expert cinematographer, you will need to edit your raw video if you want it to look its best.
-
What type of editing might you do on your video?
-
Add title and trailing text.
-
Create smooth transitions between scenes.
-
Rearrange or edit out scenes.
-
Add voiceovers, soundtracks, or sound effects.
-
Add pointers or text overlays for emphasis or clarification.
-
Video editing products
-
In addition to the expensive, commercial products, there are a number of video editors that you can use for free.
-
In general, there will be a tradeoff between complexity of use and availability of features.
-
Larger feature set → more complex to use
-
Easier to use → fewer features
-
-
The product that we will look at today is less complex, but still has a good selection of features.
-
It’s name is HitFilm 4 Express.
-
It is available for both Windows and MacOS computers.
-
We will use the free version today.
-
There is a professional version, which has more features.
-
You can download it from the site https://hitfilm.com/express
-
-
Video editing products
-
There are a number of other good video editing packages available for free.
-
You can learn more about them at the URL http://www.techradar.com/news/software/applications/the-best-freevideo-editor-1330136
-
VideoPad Video Editor
-
Demo time!


